Lesson Plan Overview
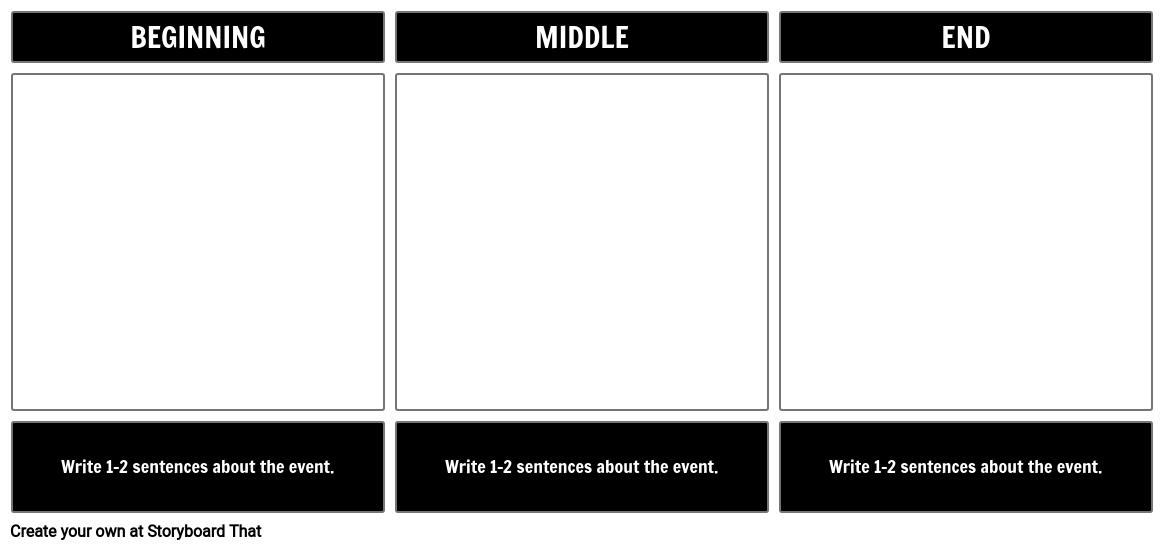
Summarizing a story in three parts is a great way to introduce plot structure and parts of a story to students in younger grades. In this activity, students will create a narrative storyboard that summarizes the story in three parts: the beginning, the middle, and the end. Their storyboard should include three cells. The beginning, which introduces the story and the problem; the middle, which showcases main events and the climax; and the end, which illustrates how the problem is resolved and the conclusion of the story.
To scaffold or tailor this activity, teachers may choose to add images or descriptions and have students fill in the blanks. Be sure to update the student instructions as necessary!
Template and Class Instructions
(These instructions are completely customizable. After clicking "Copy Activity", update the instructions on the Edit Tab of the assignment.)
Due Date:
Objective: Create a visual Beginning, Middle and End narrative storyboard that summarizes the story.
Student Instructions:
- Click "Start Assignment".
- Separate the story into Beginning, Middle, and End.
- Create an image that represents an important moment or set of events for each of the story components using appropriate scenes, characters, and items.
- Write a short description of each of the examples in the plot diagram.
Lesson Plan Reference
Student Rubric
(You can also create your own on Quick Rubric.)
| Proficient | Emerging | Beginning | |
|---|---|---|---|
| Plot | Each of the three cells represents a different part of the story. The cells are in order from beginning to end. Sentences accurately summarize each part. | One cell is out of order, or the storyboard is missing important information. | Important information is missing and/or two or three cells are out of order. |
| Images | Cells include images that help to tell the story and do not get in the way of understanding. | Some of the images help tell the story. Descriptions do not always match the images. | Images do not make sense with the story. |
| Spelling and Grammar | Spelling and grammar is mostly accurate. Mistakes do not get in the way of understanding. | Spelling is very inaccurate and hinders full understanding. | Text is difficult to understand. |
How Tos about BME Summary of Wonder by R.J. Palacio
How to guide students in writing their own BME summaries after reading any story
Encourage students to retell a story in their own words using the BME format. This builds understanding and confidence in identifying key plot points.
Model creating a BME summary with a familiar story
Demonstrate how to break down a simple, well-known tale (like 'The Three Little Pigs') into beginning, middle, and end. Think aloud as you identify each part, so students see the process.
Have students choose a favorite story and jot down BME notes
Ask students to select a book they know and write one or two sentences describing each part: beginning, middle, and end. This helps them practice summarizing and organizing thoughts.
Guide students in turning notes into a short written summary
Support students as they use their BME notes to write a full summary paragraph. Remind them to use their own words and include the main events.
Review and celebrate student work as a class
Share a few summaries aloud and highlight what each student did well. Provide praise and gentle feedback to build skills and confidence!
Frequently Asked Questions about BME Summary of Wonder by R.J. Palacio
What is a BME summary and how do you use it with 'Wonder' by R.J. Palacio?
A BME summary breaks a story into three parts: the Beginning (introduction and problem), Middle (main events and climax), and End (resolution and conclusion). With 'Wonder' by R.J. Palacio, students can use BME to visually and textually summarize key plot points in each section, helping them understand story structure.
How can elementary teachers introduce plot structure using a BME storyboard activity?
Elementary teachers can introduce plot structure by having students create a BME storyboard. Students divide the story into beginning, middle, and end, then illustrate and describe each part. This hands-on activity makes story elements concrete and supports comprehension.
What are some tips for helping students summarize the beginning, middle, and end of a story?
To help students summarize, prompt them to identify the main characters and problem in the beginning, highlight key events and climax in the middle, and explain how the problem is resolved in the end. Using images or sentence starters can provide extra support.
Why is creating a narrative storyboard effective for teaching story elements?
Creating a narrative storyboard is effective because it engages students visually and textually, reinforces understanding of plot structure, and helps them organize their thoughts. It’s especially useful for younger learners or visual thinkers.
What are some ways to scaffold a BME storyboard activity for 4th to 6th graders?
To scaffold a BME storyboard for grades 4-6, provide templates with prompts, allow use of images or sentence frames, and work in pairs or small groups. Adjust instructions as needed to fit student abilities and learning goals.
More Storyboard That Activities
Wonder
Testimonials

“By using the product, they were so excited and they learned so much...”–K-5 Librarian and Instructinal Technology Teacher

“I'm doing a Napoleon timeline and I'm having [students] determine whether or not Napoleon was a good guy or a bad guy or somewhere in between.”–History and Special Ed Teacher

“Students get to be creative with Storyboard That and there's so many visuals for them to pick from... It makes it really accessible for all students in the class.”–Third Grade Teacher
© 2026 - Clever Prototypes, LLC - All rights reserved.
StoryboardThat is a trademark of Clever Prototypes, LLC, and Registered in U.S. Patent and Trademark Office


